If you use the Google Platform – this is your best bet.
Smart thermostats are game changers for anyone looking to save energy, cut costs, and automate home comfort. The Google Nest Thermostat is one of the most popular options, but how does it stack up against the competition? Let’s break it down. The $$$ savings are real. And the installation is easier than you think.
🎉Check out the Day in the Life story at the end of the post.
Comparison: Smart Thermostats (2025)
- Compatibility: Most HVAC systems
- Smart Features: App control, voice assistant ready
- Ease of Use: Very easy
- Energy Savings: Up to 15% annually
- Why It Stands Out: Affordable, sleek design, and integrates easily with Google Assistant and Alexa.
Google Nest Learning Thermostat:
- Compatibility: Most HVAC systems
- Smart Features: Self-learning capabilities, app control
- Ease of Use: Easy
- Energy Savings: Up to 20% annually
- Why It Stands Out: Self-learning capabilities automate temperature settings for greater efficiency.
Ecobee SmartThermostat:
- Compatibility: Most HVAC systems
- Smart Features: App, Alexa built-in, sensors
- Ease of Use: Moderate
- Energy Savings: Up to 23% annually
- Why It Stands Out: Best for multi-room control with advanced sensor technology.
Honeywell T9:
- Compatibility: Most HVAC systems
- Smart Features: App, room sensors, Alexa integration
- Ease of Use: Moderate
- Energy Savings: Up to 20% annually
- Why It Stands Out: Great for zoning but lacks advanced design and polish.
Amazon Smart Thermostat:
- Compatibility: Most HVAC systems
- Smart Features: Alexa integration only
- Ease of Use: Easy
- Energy Savings: Up to 10% annually
- Why It Stands Out: Budget-friendly but lacks advanced app controls and sensors.
Wyze Thermostat:
- Compatibility: Most HVAC systems
- Smart Features: App control, voice assistant ready
- Ease of Use: Easy
- Energy Savings: Up to 12% annually
- Why It Stands Out: Great for budget-conscious users with solid app support.
Emerson Sensi Touch:
- Compatibility: Most HVAC systems
- Smart Features: App, Alexa, geofencing
- Ease of Use: Moderate
- Energy Savings: Up to 15% annually
- Why It Stands Out: Reliable, but the design feels outdated compared to competitors.
Tado Smart Thermostat:
- Compatibility: Most HVAC systems
- Smart Features: App, geofencing, weather tracking
- Ease of Use: Moderate
- Energy Savings: Up to 22% annually
- Why It Stands Out: Excellent energy savings and European design, but higher price point.
Lux Kono:
- Compatibility: Most HVAC systems
- Smart Features: App control, voice assistant ready
- Ease of Use: Moderate
- Energy Savings: Up to 10% annually
- Why It Stands Out: Customizable look but lacks advanced automation features.
Hive Active Thermostat:
- Compatibility: Most HVAC systems
- Smart Features: App, smart home integrations
- Ease of Use: Moderate
- Energy Savings: Up to 13% annually
- Why It Stands Out: Stylish design but less intuitive for first-time users.
Deciding Which Thermostat to Buy
Smart thermostats are no longer just about controlling your home’s temperature; they’re about optimizing comfort, saving energy, and seamlessly integrating with your smart home. Let’s dive into why the Google Nest Thermostat might just be your perfect match.
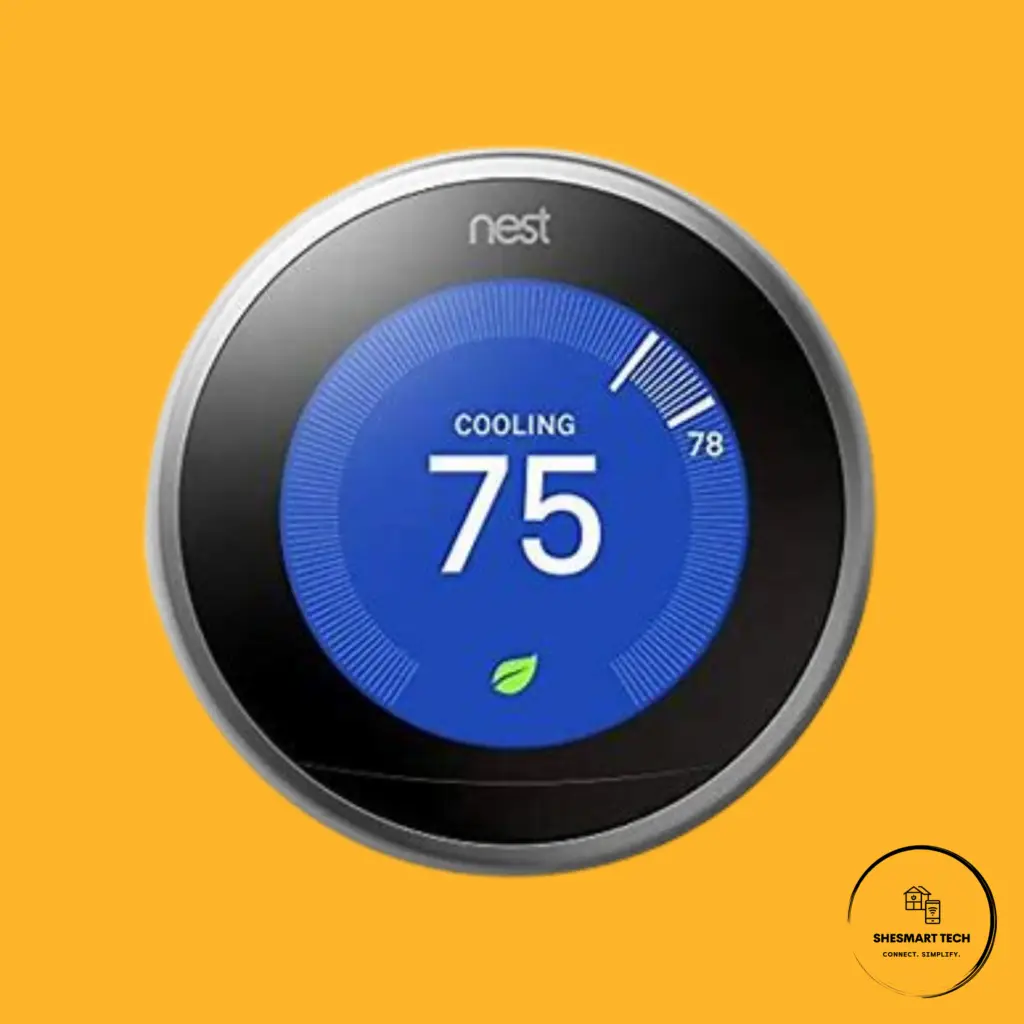
Why the Google Nest Thermostat Shines 🌟
Well priced, the Google Nest Thermostat offers excellent value. It’s simple to use, compatible with most HVAC systems, and integrates smoothly with Google Assistant and Alexa. Its app control allows you to adjust your home’s temperature from anywhere, and with an annual energy savings of up to 15%, it practically pays for itself over time. The sleek design is a bonus, ensuring it blends effortlessly with modern decor.
How Does It Compare?
- Google Nest Learning Thermostat: For those who want smarter automation, this model’s self-learning capabilities adjust to your schedule and habits over time, offering up to 20% energy savings.
- Ecobee SmartThermostat: This thermostat is a top choice for homes with multiple rooms, thanks to its advanced sensor technology and excellent app.
- Honeywell T9: Great for zoning your home but not as stylish or polished as other models.
- Amazon Smart Thermostat: Perfect for budget-conscious buyers who are already immersed in the Alexa ecosystem, though it’s less advanced.
- Wyze Thermostat: Incredible value for the price, with solid app support, though it’s missing advanced features like geofencing.
- Emerson Sensi Touch: A solid mid-range option with reliable features but a slightly dated design.
- Tado Smart Thermostat: Excellent for those in Europe, with geofencing and weather tracking, but it’s one of the pricier options.
- Lux Kono: A stylish choice with customizable covers but lacking in automation.
- Hive Active Thermostat: Stylish and functional but has a steeper learning curve for new users.
Our Top Pick 🎉
The Google Nest Learning Thermostat edges out the competition with its self-learning feature and energy savings of up to 20%. However, for budget-conscious buyers or those just getting started with smart home devices, the Google Nest Thermostat is the best all-around choice. It’s affordable, easy to use, and integrates seamlessly with Google’s ecosystem.
Smart Tech Joke 🤣
Why did the smart thermostat get promoted?
It was really good at raising the temperature in the room!
🌟 Time to Buy?
Ready to save energy and streamline your home? Get your Google Nest Thermostat or Google Nest Learning Thermostat today through our affiliate links and enjoy greater comfort while helping us bring more valuable content to you!
🤣 A Little Scared?
Keep reading…. we have a brief ‘Day in the Life’ story for you to breeze through. It can be challenging to setup smart tech, but we’ve got you!
Key Steps to Smart Thermostat Setup Success:
• Preparation
– Download Google Home app and create account
– Verify Wi-Fi network is 2.4 GHz compatible
– Check HVAC system compatibility online
– Gather tools (included screwdriver and wire labels)
• Installation
– Turn off power at circuit breaker
– Document existing wiring (photos)
– Remove old thermostat
– Connect labeled wires to Nest base
– Attach Nest display
• Setup
– Power on and connect to Wi-Fi
– Complete software updates
– Configure through Google Home app
– Run full system test
– Set up temperature preferences
• Smart Features
– Enable Home/Away Assist
– Configure voice assistant integration
– Set up learning schedule
– Activate energy-saving features
🎉Day in the Life Story
The Great Thermostat Adventure: A Tech-Savvy Woman’s Tale
It started with a notification from my Fitbit at 3 AM: my heart rate had spiked. No surprise there – I’d just woken up sweating in what felt like a tropical rainforest simulation happening right in my bedroom. That was the last straw. My ancient thermostat had to go.
The Pre-Game Research
After ordering my Google Nest Thermostat, I did what any sensible woman would do: actual preparation. Gone are the days of diving into tech installations blind and hoping for the best. First stop: checking my Wi-Fi situation.
“2.4 GHz compatible? Check!” I muttered to myself, feeling unusually proud about knowing what that meant. A quick visit to Google’s compatibility checker confirmed my HVAC system wouldn’t throw a tantrum about its new smart companion. Already winning at this smart home thing.
The Great Installation Day
7:30 AM: Armed with coffee and the Google Home app (already downloaded, look at me being proactive!), I faced my first challenge – creating a Google account. Just kidding, I have about five of those. But for those keeping score at home, you’ll need one.
8:00 AM: Time to turn off the power. “Alexa, remind me where the circuit breaker is,” I called out, before remembering that killing the power would also silence my electronic assistant. Some habits die hard.
Pro Tip: Take photos of your existing wiring before disconnecting anything. It’s like having a before picture for your home’s glow-up, but more importantly, it’s your safety net.
The Wire Whisperer
The next part felt like performing surgery, if surgery involved color-coded wires and stickers. The Nest’s packaging includes labels that would make any organization influencer proud. R, W, Y, G – suddenly I’m speaking HVAC alphabet.
“Please be compatible, please be compatible,” became my mantra as I checked each wire. The compatibility guide had said we were good to go, but there’s nothing like a little wire-related anxiety to get the blood pumping.
The Digital Dance
With the hardware mounted (and looking surprisingly professional, if I do say so myself), it was time for the real fun: software setup. The Google Home app guided me through the process like a patient friend who happens to be really into thermostats.
9:15 AM: Software update notification. Because of course there’s a software update. Welcome to 2025, where even your thermostat needs the latest version to function. Coffee break!
The Moment of Truth: System Test
The app prompted me to run a system test, and I’ve never felt more like a NASA engineer. “Initiating heating sequence” might as well have been “Houston, we have liftoff.” Each successful test brought a little victory dance. Yes, I dance for HVAC achievements now. This is who I am.
Making It Mine
Now came the fun part – customization. The app walked me through setting up:
– Home/Away Assist (so it knows when I’m out shopping and doesn’t heat an empty house)
– Voice assistant integration (because talking to your thermostat is totally normal now)
– Learning schedule (it’s like having a personal temperature assistant who really gets you)
Pro Tip: Take time to set up the energy-saving features. Your future utility bills will thank you.
The First 24 Hours
Day 1 with my new smart thermostat was a journey of discovery. Did you know you can adjust the temperature from your phone while still in bed? Game changer. The motion sensors picked up my morning routine, and I swear the temperature adjusted itself just as I was thinking about it.
But the real test came at night. For the first time in months, I slept through the night without any tropical awakening. The Nest had learned my preferred sleeping temperature and maintained it perfectly.
The Aftermath
Two weeks in, and I’m officially a smart thermostat evangelist. The learning schedule has picked up my patterns, the energy report makes me feel like an eco-warrior, and I’ve caught myself showing off the app to anyone who’ll listen.
For those following in my footsteps, remember:
– Yes, you need that 2.4 GHz Wi-Fi
– Take the photos before disconnecting anything
– Let the software updates happen
– Run those system tests like your comfort depends on it (it does)
– Enable all the smart features – they’re worth it
And if at any point you feel overwhelmed, there’s no shame in calling a Nest Pro. But between us? You’ve got this. If I can turn my home into a smart temperature paradise, anyone can.
P.S. For those wondering – yes, I named my thermostat. She’s Celsia, and she’s doing great.
Sarah’s Saturday Morning Smart Thermostat Adventure: A Guide to Installation, Configuration, Connection, and Control
“Alexa, why is it so hot in here?” I mutter, still half-asleep. Silence. Right – that’s exactly why I’m spending my Saturday installing a new Google Nest thermostat. The box has been sitting on my counter for three days, starring at me judgmentally. Time to adult.
Installation: Not Your Mother’s Thermostat (But Actually Easier)
8:30 AM: Armed with coffee and determination, I approach the wall where my old thermostat has been faithfully maintaining slightly-too-warm temperatures for the past decade. The Nest box promises “30-minute installation.” Challenge accepted.
First smart move: I take a photo of the existing wiring before touching anything. Future me will thank present me for this stroke of genius. The Nest’s packaging includes a little screwdriver (they thought of everything) and a series of labels for the wires that look like tiny name tags for a thermostat party.
The actual removal is surprisingly anticlimactic. Two screws, and my old thermostat pops right off, revealing the Wire Situation. Each one gets its little alphabet sticker – R, W, Y, G. It’s like kindergarten, but for HVAC. The Nest base plate goes on with deeply satisfying clicks, and the wires slip into their clearly marked spots. No electrical engineering degree required.
Pro Tip: Before removing your old thermostat, turn off the power at your circuit breaker. I didn’t electrocute myself, but let’s pretend I’m telling you this from wisdom and not luck.
Configuration: Teaching Your Thermostat to Read Your Mind
9:15 AM: Physical installation complete, it’s time to teach this round little genius about my home. The Nest’s interface is remarkably intuitive – like if Apple designed a temperature dial. It asks simple questions about my heating system, my home’s layout, and my schedule.
“What kind of heating do you have?” it inquires politely. Forced air, I respond, feeling unusually knowledgeable about my HVAC system. The setup wizard walks me through everything step-by-step, no technical manual required. It’s like having a very patient friend who happens to be really into thermostats.
The best part? No tiny switches or cryptic codes like my old programmable thermostat. Just clear questions with obvious answers. When it asks about my preferred temperatures, I realize I’m basically setting up a dating profile for my HVAC system.
Connection: Welcome to the Internet of Things
10:00 AM: Now comes the part that usually makes me want to throw smart devices out the window – connecting to Wi-Fi. But the Nest surprised me here too. It displays a simple code, I open the Google Home app on my phone, and like magic, they find each other.
The app walks me through creating an account (if you don’t already have one) and connecting to Wi-Fi. The process is so smooth, I’m almost suspicious. Where’s the part where I have to reset everything three times and call my tech-savvy neighbor?
Pro Tip: Have your Wi-Fi password ready. It’s amazing how many of us realize we don’t actually know it until this moment.
Control: Your New Temperature Command Center
10:30 AM: This is where the magic happens. The Nest app gives me more control over my home’s temperature than I ever thought possible. I can adjust the temperature from anywhere – bed, work, vacation in Bali (someday). The interface is clean and intuitive, showing current temperature, humidity, and energy usage at a glance.
Setting up schedules is surprisingly fun. I create one for weekdays (cooler when I’m at work), weekends (cozy morning temperatures for lazy Sundays), and a “Coming Home” routine that ensures the house is perfect when I walk in the door.
The motion sensor is both cool and slightly unnerving. “I see you,” it seems to say, adjusting the temperature based on my presence. It’s like having a very attentive butler who’s really into energy efficiency.
Living with Your New Smart Home Companion
By noon, my Nest is happily running my home’s climate, learning my preferences, and probably judging my temperature choices. The app sends me monthly energy reports that make me feel like an environmental superhero, and the money savings aren’t bad either.
The best part? When friends come over and notice the sleek display, I can casually mention, “Oh, that’s just my smart thermostat,” like I’m living in the future. Which, I guess I am.
Final Thoughts
Installation was simpler than assembling IKEA furniture, configuration was easier than setting up a new phone, connection was smoother than my morning coffee, and control is more intuitive than my TV remote. The whole process took less time than choosing what to watch on Netflix.
Remember:
– Always take pictures of your existing wiring
– Keep your Wi-Fi password handy
– Download the Google Home app before you start
– Don’t skip the system test at the end of installation
– Embrace the future – your thermostat is now smarter than your first phone was
Now, if you’ll excuse me, I need to go adjust my temperature from the comfort of my couch, because I can do that now. Welcome to the future – it’s surprisingly user-friendly.